Enabling Waitlist on Services
To get started making the most of your TeleHippo account, add services and appointments you wish to offer to your customers. Check out our video and written description below.
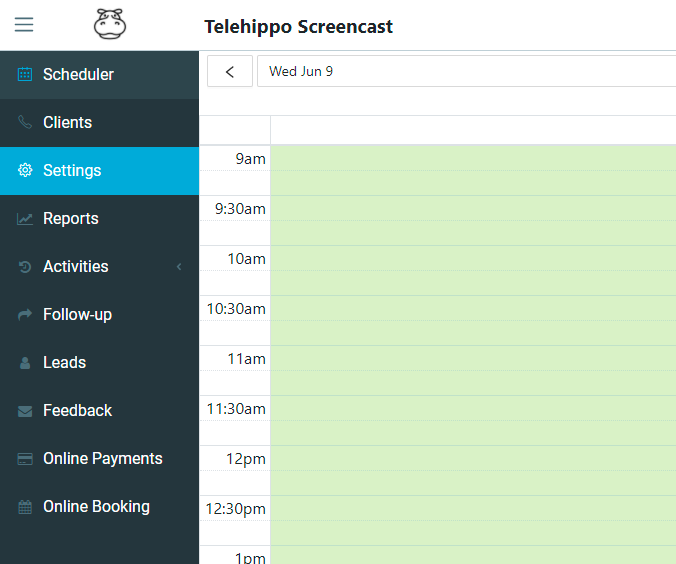
To enable our waitlist feature any of your services, click into the Settings tab on the menu to the left-hand side.
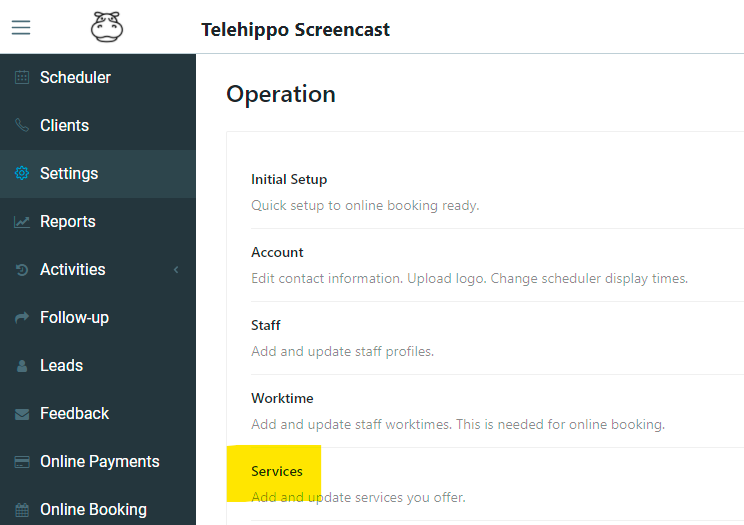
When inside the Settings section, click into the Services tab to access all account services.
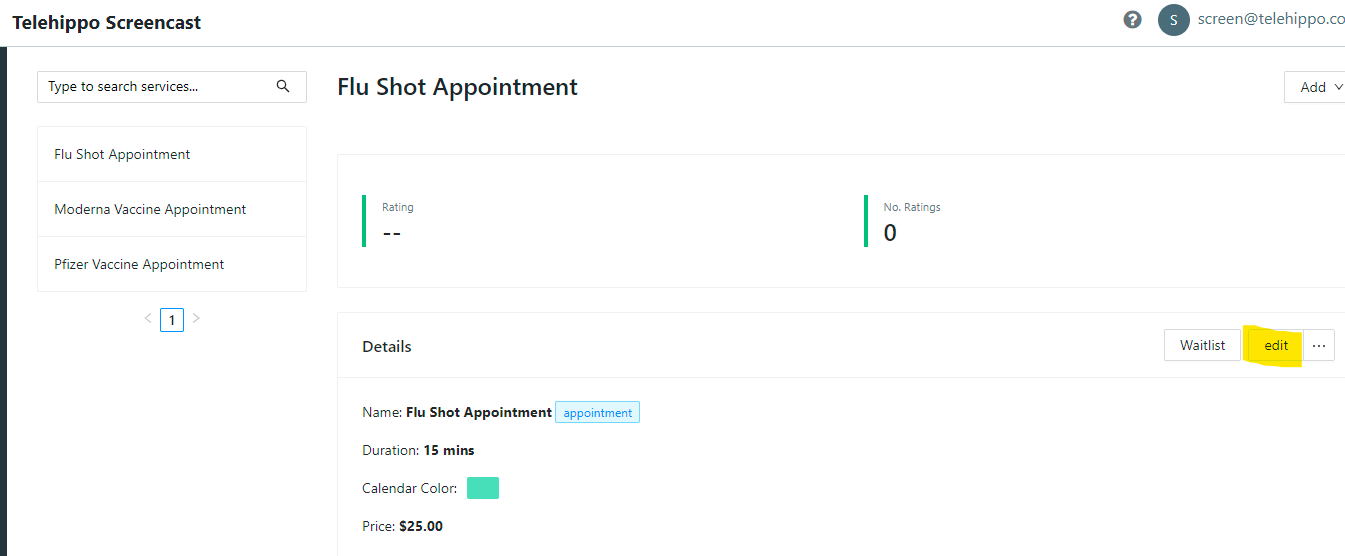
The Services tab allows you to edit existing services, from here you can enable the waitilist. This will put any customers onto a waitlist when your service is full or not available. Click on your desired service and click on edit
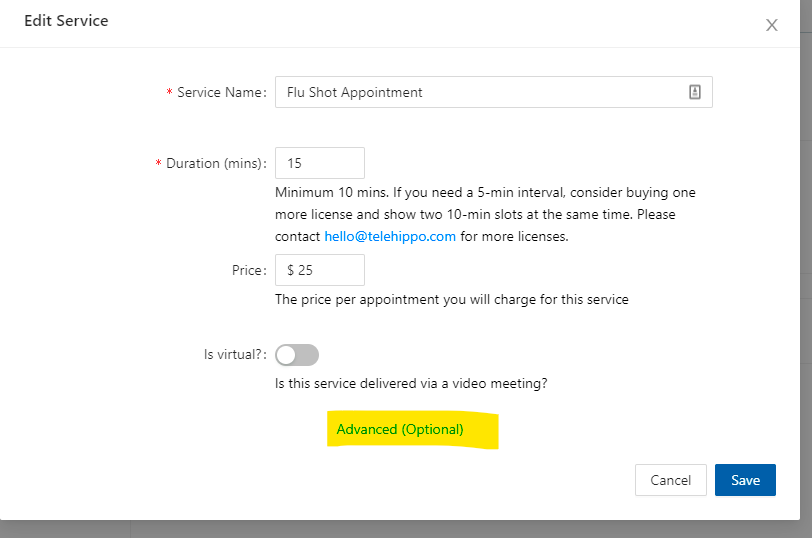
Inside the services input pop up, click on Advanced (Optional).
Scroll down to find the ‘No Schedule mode’ + “Out of stock mode’ title. Click on the drop down menu and select ‘Waitlist’ for both. This will enable the wait list for any service that also has inventory attached.
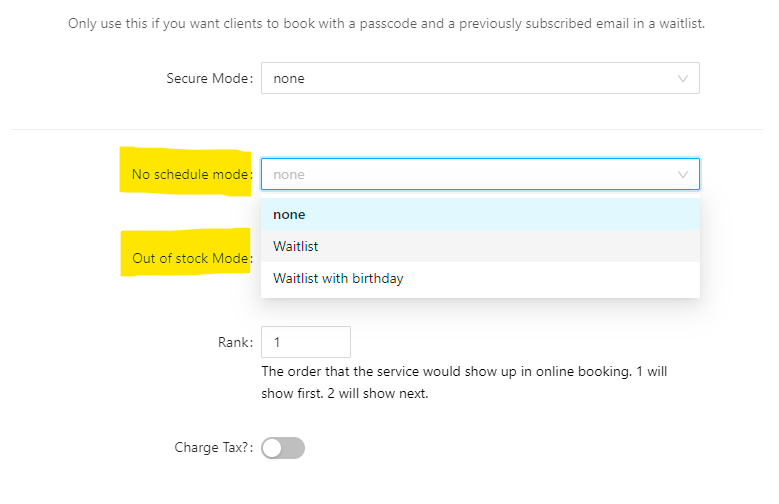
After it has been selected scroll down to the bottom of the form and click save, then click Done.
To check your waitilist, as well as add or remove entries on it. Click into ‘Waitlist’.
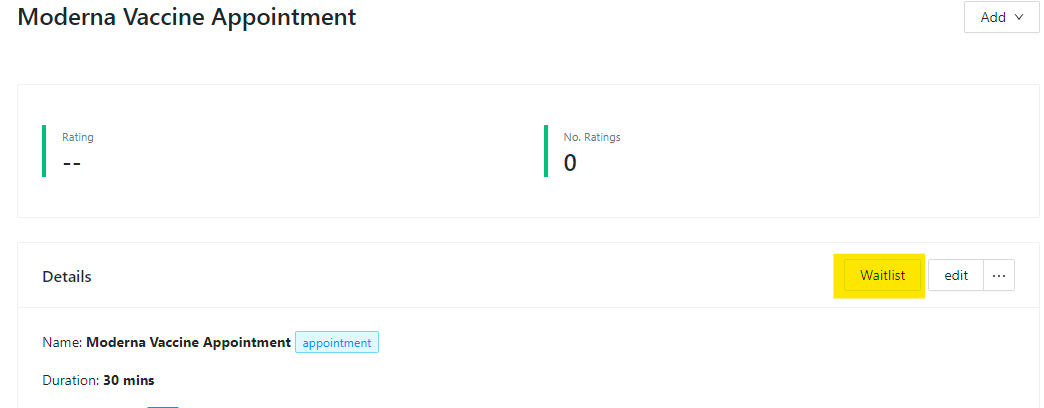
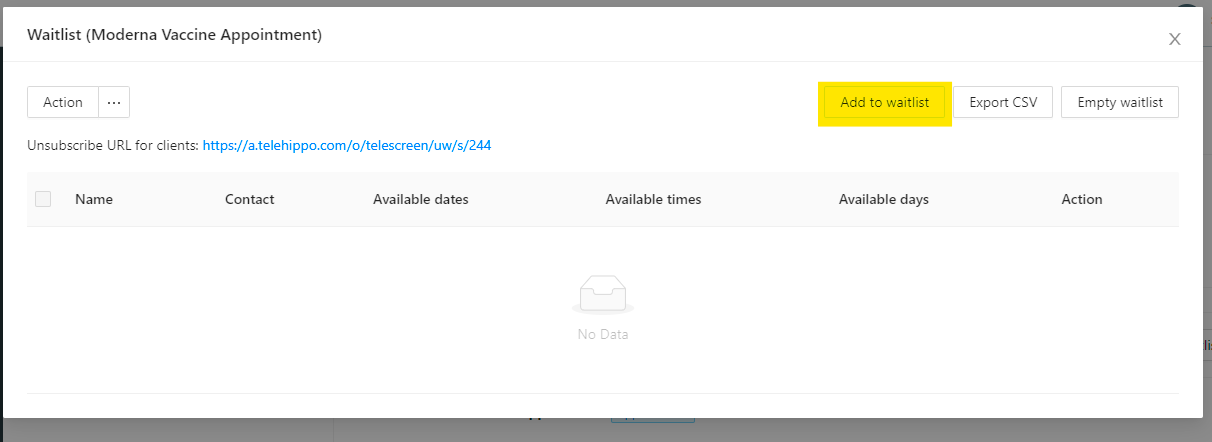
From here you can view all the entries on the waitlist currently, as well as add you own if you would like. To add an entry click into the ‘Add to waitlist’ button.
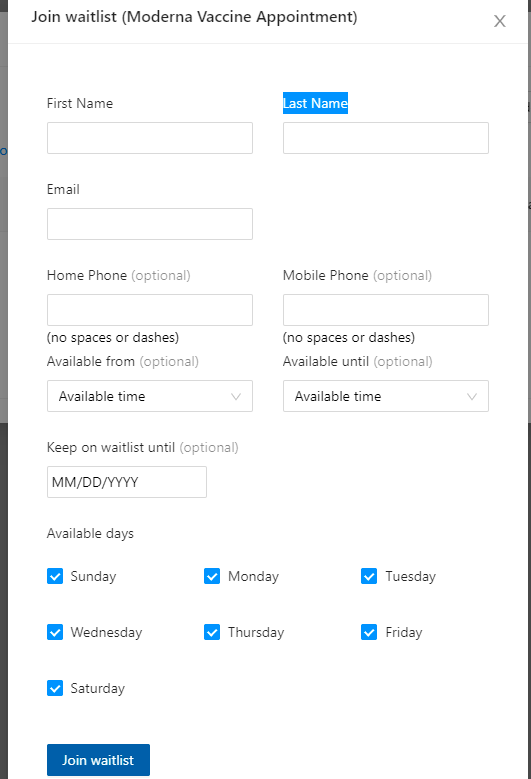
Inside the popup you can add required client information. Once filled out, click ‘Join Waitlist’
Now you have added a client to the wait list and you can see the information in the table below. Any clients who book when your service is unavailable will end up in the form like this.

